Wiki
Add New Non-Inventory Item
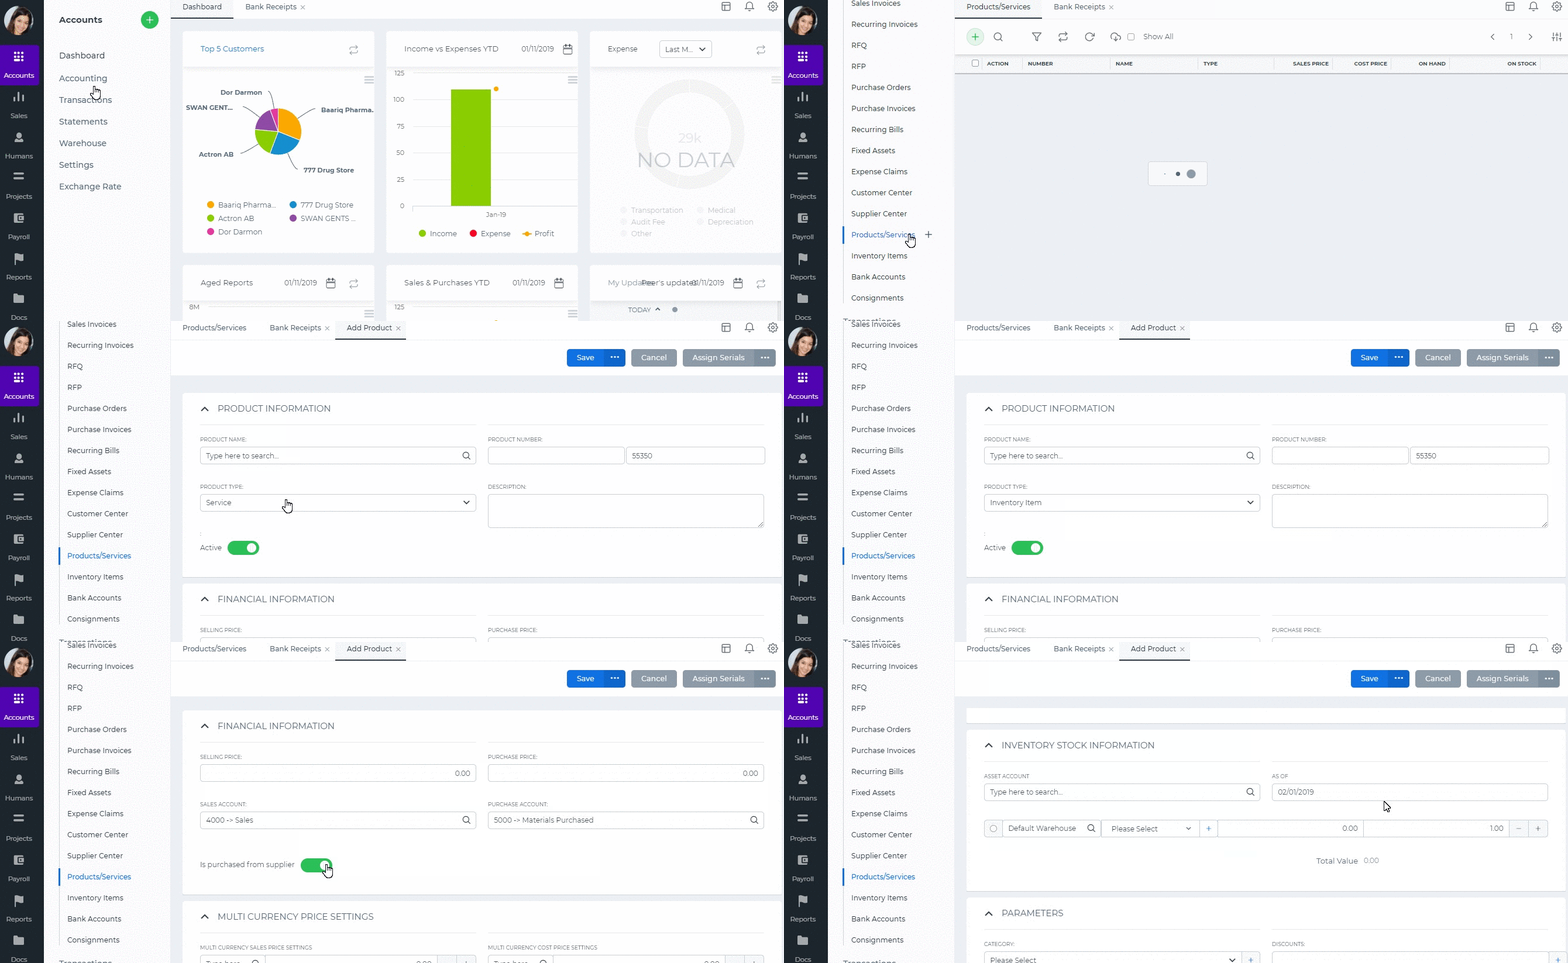
To add a new Non-Inventory Item, go to Product/Services page and click Add. Here are the description of the fields:
Product Type – Select Non-Inventory Item type and following fields will be available:
Product Name – Write the name of Non-Inventory Item.
Product Number – Product number will be set automatically. You can set your own numbering in Settings, Numbering Settings, Product Numbering.
Category – Choose a category of the Non-Inventory Item. You can add new Category here in dropdown clicking Add New or in Settings, Product Categories and Add Category.
Tax Rate – Tax rate to the per unit of Non-Inventory Item.
Rate – Selling price of the Non-Inventory Item to customers.
Account – Sales account will be set by default, you can choose another income account from dropdown menu.
If you want to show this Non-Inventory Item in purchase documents (Purchase Order, Purchase Invoice, or supplier Credit Note), you need to check “Is purchased from supplier” check-box. And following fields show up:
Purchase Price – Cost price of the Non-Inventory Item to the company.
Expenses Account – Select an expense account to track expenditure.
If you are going to input more data about the Non-Inventory Item you can push More options: SKU number, UPC number, Unit measurement, Vendor, Manufacturer, and Part number.

See also
- Purchase Order for Fixed Assets
- Goods Delivered Notes
- Sales Quote
- Sales Order
- Sales Invoice
- Recurring Invoice
- Request for quote
- Request for purchase
- Purchase Order
- Purchase Invoice
- Recurring Bills
- Fixed Assets
- Company Expense Claims
- Employee Expense Claims
- Customer Center
- Supplier Center
- Products & Services Overview
- Bank Accounts
- Supplier Access
- VAT Reverse Charge Mechanism
- Setting Barcode for a Product
- Items Table
- Run Time Calculation of Exchange gain/loss
- Exporting to Excel and PDF
- Timesheet Invoice
- Budget per Department
- VAT Return
- Bank reconcilation
- Dividends Payable
- Assembly Products
- Add New Assembly Item
- What is Non-Inventory Item?
- FIFO method of inventory valuation
- What is Inventory Item?
- Add New Inventory Item
- Products/Services Import
- Add New Product/Service
- Intercompany Purchases
- Creating Intercompany Sales Invoice
- Intercompany Sales
- Workflow of Expense Claims
- Purchases / Bills Overview
- Timesheet based Invoice
- Progress Invoicing
- How to convert Sales Quote to Order, Invoice & Project
- Sales Overview
- Serial Numbers
- Accounting Overview
- Landing Cost
- Mark PO as Open
- Purchase Order Actions
- Receive Purchase Order
- Send Purchase Order
- Importing Customer Accounts


